


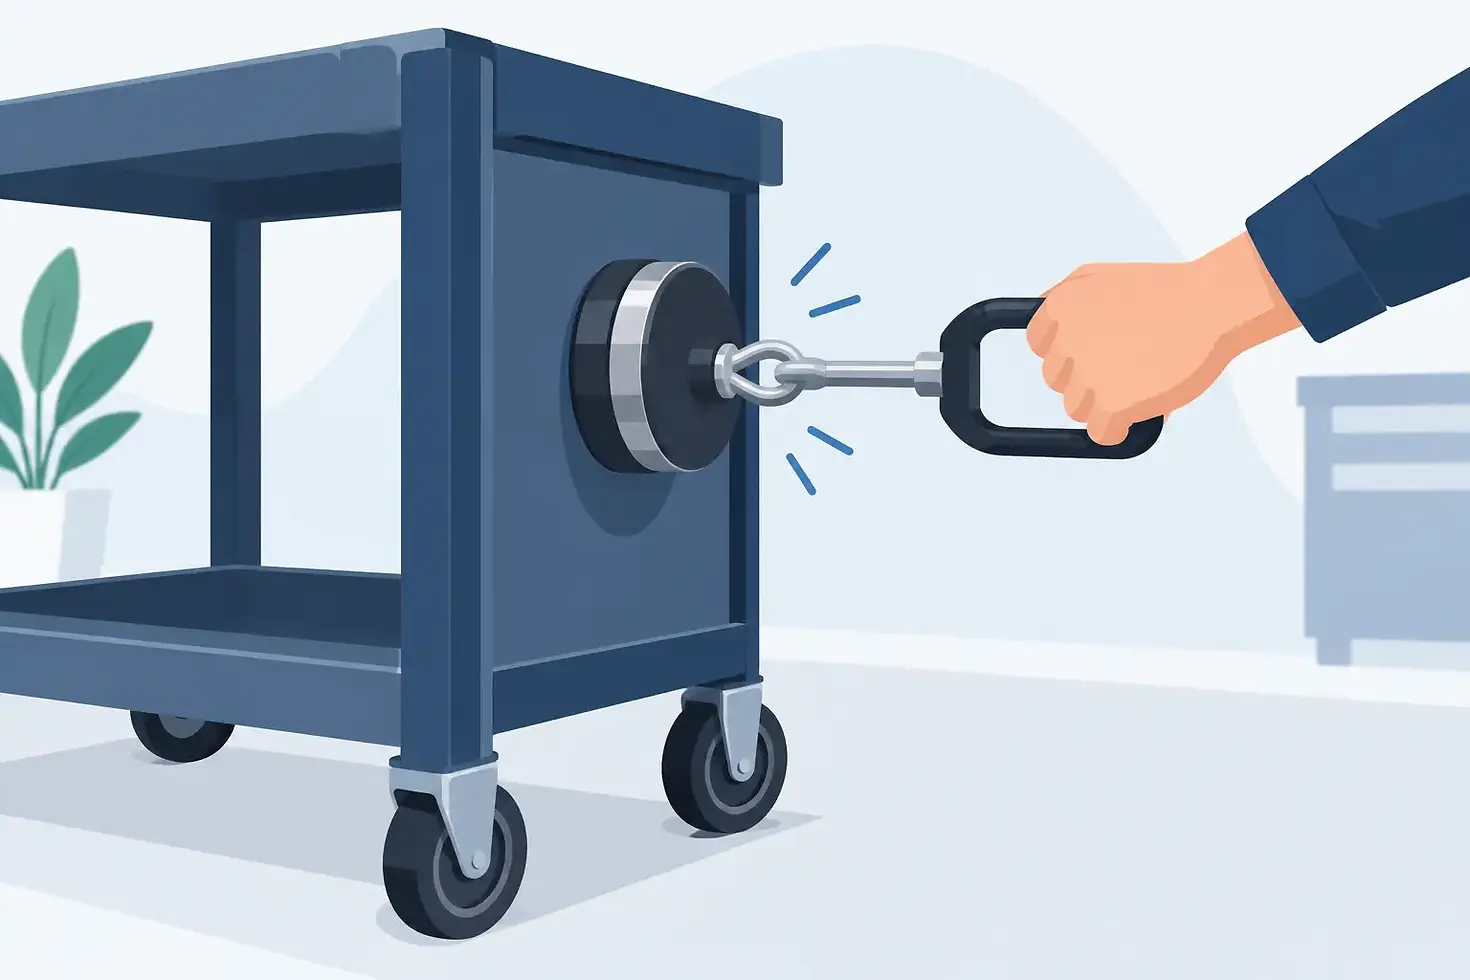
How to Test Magnet Mount Strength on Your Cart
A magnetic mount should make cooling your cart easier, not give you one more thing to watch while driving over a rough cart path. Before loading water, turning on the fan, and heading to the first tee, take a minute to test magnet mount strength where you plan to attach your cooling system. A quick check helps confirm that the mount has solid contact, the surface is suitable, and the unit can stay put through normal movement during a round.
Why Magnet Mount Strength Changes on a Golf Cart
A magnet can feel very strong in your hand but perform differently once it is mounted on a moving golf cart. The difference is not always the magnet itself. The mounting surface, the direction of force, vibration, added water weight, and the cart's movement all matter.
Magnets hold best when they sit flat against a clean steel surface. A small gap caused by a thick rubber edge, uneven trim, dirt, a textured coating, or a curved panel reduces holding power. The same is true when only part of the magnet is making contact. Full, flat contact gives the mount the best chance to do its job.
Golf carts also create two types of force. First is direct pull, when something tries to pull the mount straight away from the cart. Second is sliding force, when bumps, turns, and vibration encourage the unit to creep downward or sideways. Magnetic mounts are usually strongest against direct pull. That is why placement and orientation matter as much as raw magnet strength.
Not every cart panel is magnetic, either. Many carts use aluminum, fiberglass, plastic, or non-magnetic trim in areas that may look like metal. If a magnet will not hold firmly to the bare surface, do not try to make it work by adding tape, stacking materials, or hanging extra weight from it.
Start With the Right Mounting Surface
Choose a solid, flat steel area that keeps your cooling gear within reach without blocking your view, controls, cupholders, passenger space, or access to the cart's storage areas. On many carts, suitable locations may include portions of the roof support frame or other exposed steel framing. Cart models vary, so test the exact spot rather than assuming a nearby panel will work.
Wipe the surface clean and dry before mounting. Dust, sand, grass clippings, sunscreen residue, and moisture can create a small gap between the magnet and the cart. They can also allow grit to rub against the finish as the cart moves.
Check the mounting surface with the magnet before attaching the complete system. You want a firm, immediate connection across the entire magnet. If it grabs only at one corner, rocks on the surface, or feels easy to slide with light finger pressure, choose another location.
A painted steel surface can still be a good mounting point. Just make sure the paint is intact and the contact area is smooth. Avoid locations with loose paint, heavy rust, deep dents, sharp edges, or a pronounced curve that prevents the mount from sitting flat.
How to Test Magnet Mount Strength Before a Round
The best test is simple and takes less than a minute. Perform it with the unit configured close to how you will actually use it. An empty fan may hold well, but a filled water bag and hose add weight and movement.
1. Mount the Unit With Full Contact
Place the magnetic mount flat against the selected steel surface. Press it into position so the magnet makes complete contact. Do not leave it perched on an edge, seam, bolt head, or trim piece.
Position the product so its weight hangs as close to the mount as possible. A long unsupported angle creates leverage that can make a secure mount more likely to shift. If your fan or nozzle is adjustable, set it for comfortable airflow without pulling the body far away from the cart.
2. Perform a Controlled Hand Check
With one hand ready to support the unit, apply gentle downward and side-to-side pressure. You are not trying to rip the mount off the cart. You are checking for unwanted movement, rocking, or sliding.
A properly placed magnet should feel planted. It should not drift down the frame under the weight of the unit or shift when you lightly bump it. If it moves, remove it, clean both contact surfaces, and remount it. If it still moves, select a flatter or more magnetic location.
3. Test It With the Water Bag Filled
Water changes the test. Fill the collapsible water bag to the amount you expect to carry during the round, connect the hose as directed, and repeat the gentle movement check. Make sure the hose has enough slack for adjustment but not so much that it can snag when getting in or out of the cart.
Pay attention to how the water bag is supported. The magnetic mount should not be asked to hold extra gear that was not intended to hang from it. Keep the bag positioned according to the product setup instructions and avoid adding towels, phones, rangefinders, or other accessories to the mounted fan.
4. Take a Slow Cart-Path Check
Before heading out, drive a short distance at low speed over normal pavement or a mild bump. Stop and inspect the mount. If the unit has stayed in position without sliding, rattling excessively, or pulling at the hose, the setup is ready for normal cart use.
There is no need to test a magnetic mount by hitting potholes, curbs, or off-path terrain. A golf cart cooling system is designed for practical comfort during a round, not for avoidable impact testing. Slow down over rough sections and recheck the mount after unusually bumpy travel.
Factors That Can Reduce Holding Power
Heat itself does not usually create an instant mounting failure, but hot conditions can expose a weak setup. Plastic components may warm up, water bags become lighter as they empty, and golfers may reposition gear more often. The bigger issue is usually poor surface contact that was already there.
Vibration is another factor. A mount that seems fine in the parking area can work loose if it is installed on a narrow, rounded, or flexible panel. Mounting on a stable section of steel frame is generally more dependable than mounting on thin decorative metal.
Watch for interference from accessories and cart features. Enclosures, rain covers, straps, speaker mounts, roof supports, and aftermarket storage can create contact points that push against the fan or hose. If something presses on the system every time the cart turns or the roof flexes, move the mount before the round starts.
Magnet strength can also be reduced by damage. Inspect the mounting face occasionally for chips, cracks, embedded metal debris, or worn protective material. Clean it with a soft cloth. Do not scrape the magnet against the cart frame or drag it into position, since trapped grit can mark the finish.
Placement Matters More Than a Hard Pull Test
A common mistake is judging a magnetic mount only by how hard it is to pull straight off the cart. That tells you part of the story, but it does not show how the unit will handle side load and vibration.
For a better setup, keep the mounted product compact, make sure the magnet sits flat, route hoses neatly, and avoid placing the fan where someone will brush it while entering the cart. A well-positioned compact cooling system is less likely to be bumped, snagged, or used as a handle by accident.
This is one reason golf-cart-specific magnetic cooling gear is practical. A lightweight system such as a MisterHub misting fan is easier to place close to the frame, adjust toward the riders, and remove when the round is over. Still, portability does not replace a proper mounting check. Every cart has different materials, mounting angles, and accessories.
When to Remove and Reposition the Mount
Remove the unit and start again if the magnet begins sliding, the fan rocks against the surface, the hose feels stretched, or the cart surface is not truly magnetic. Do the same if you have moved to a different cart. A spot that worked on your home cart may not work on a rental cart or a friend's vehicle.
It is also smart to remove magnetic accessories before washing the cart, transporting it, or storing it for an extended period. Clean, dry contact surfaces help protect both the mount and the cart finish.
A quick mounting check before teeing off gives you more than peace of mind. It lets you focus on the round, keep the airflow where you want it, and enjoy heat relief without stopping to retrieve equipment from the cart floor.



Comments